3D Printable Enclosure
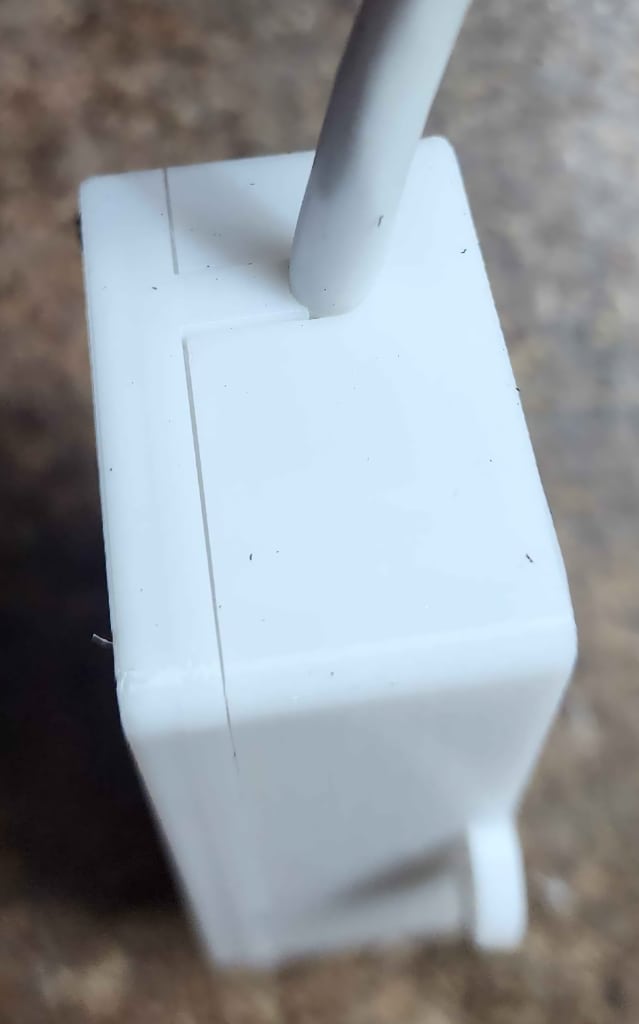
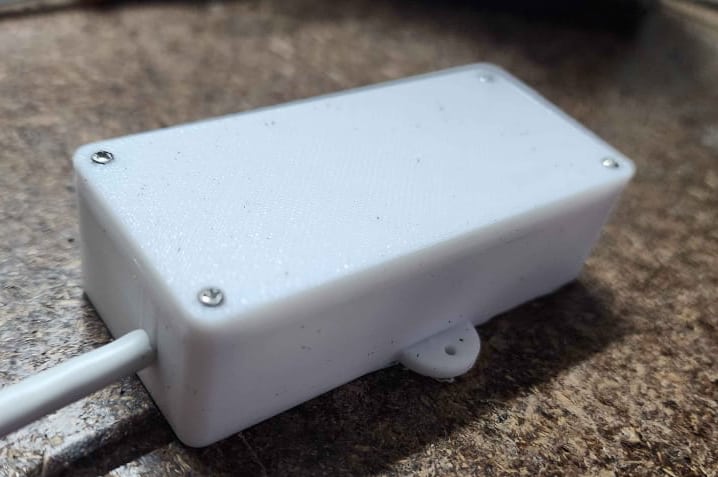
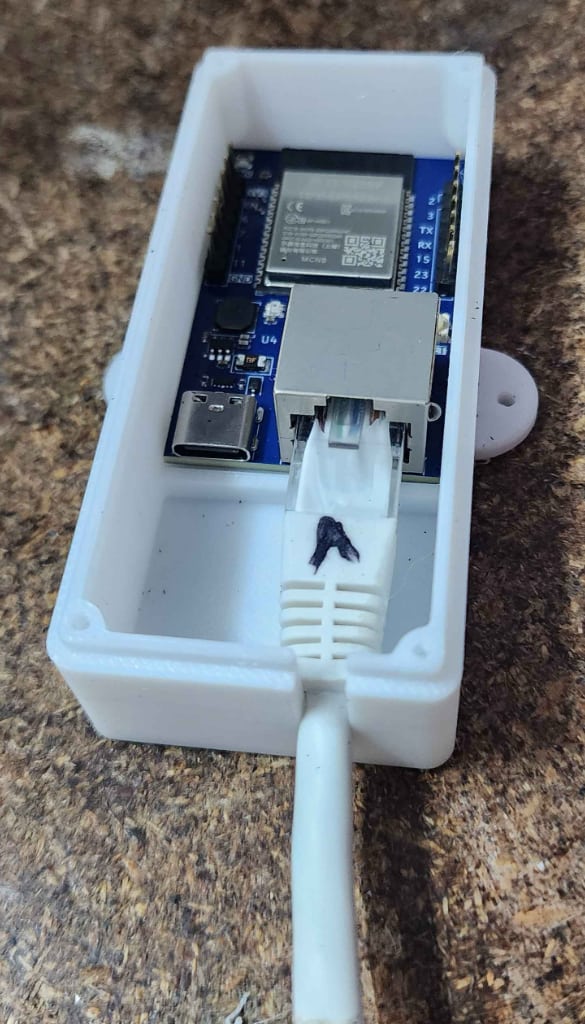
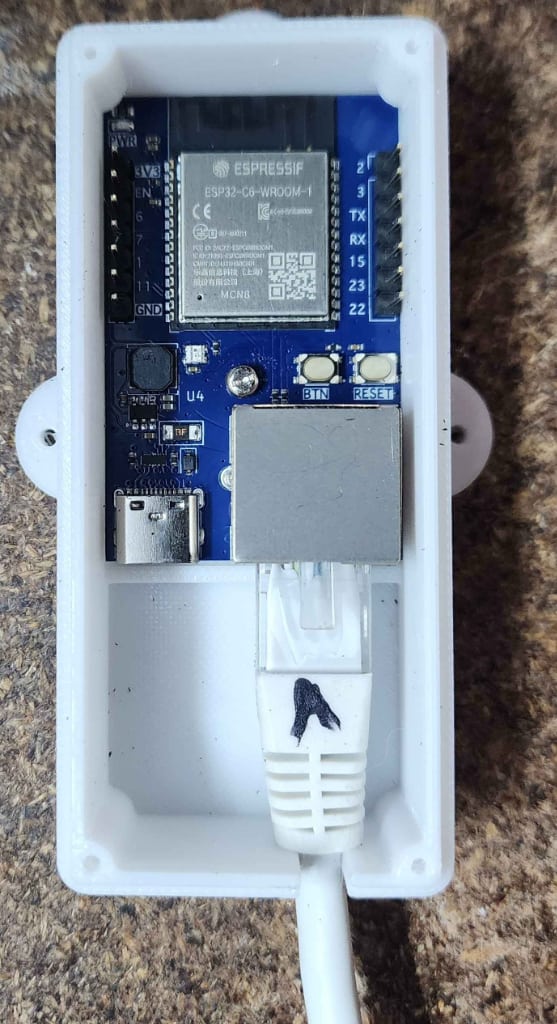
A custom 3D printable enclosure is available for the eSpa Mini, designed to protect your PCB and provide a clean, finished look when installed in your spa pool cabinet.
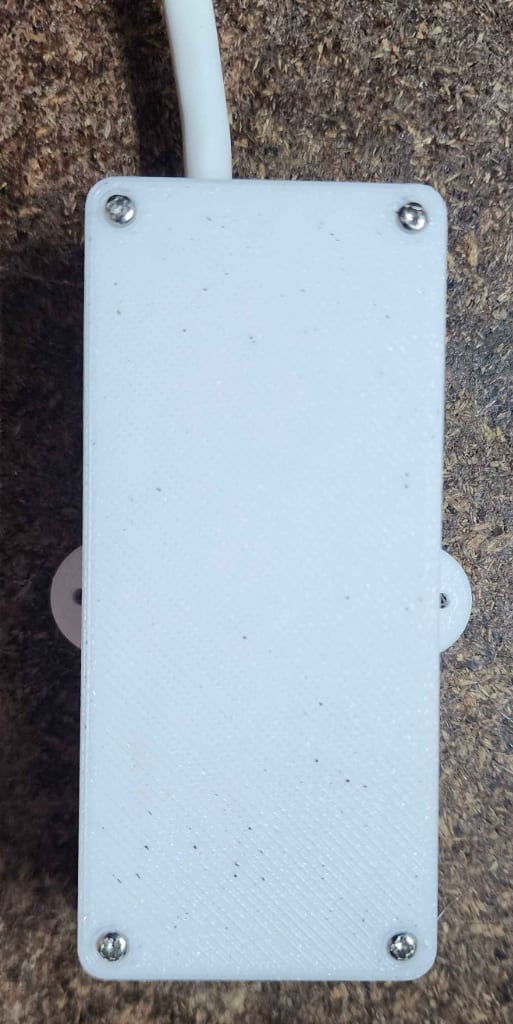
The enclosure comes in two variants that are identical apart from length: a long version (recommended) and a slightly more compact short version. Both share the same water-resistant drip-lip lid, two-point wall mounting, and eSpa.diy mark.
Photos
Click any thumbnail to view the full-size image.
Downloads
The following files are available for download. Each variant needs its case and its matching lid — long lids fit long cases, and short lids fit short cases. Most people should choose the long (recommended) version.
| File | Description |
|---|---|
| espa-case-long.stl | Case — long (recommended). Full-length body, with extra clearance at the connector end so the RJ45 plug sits fully inside the case. |
| espa-lid-long.stl | Lid — long (recommended). Matches the long case. |
| espa-case-short.stl | Case — short. A more compact build, 15 mm shorter than the recommended version. |
| espa-lid-short.stl | Lid — short. Matches the short case. |
Which one should I print?
Go with the long (recommended) version. The short variant only saves a small amount of resin and print time, and its tighter connector end leaves less room for the RJ45 plug — choose it only if you specifically want the most compact enclosure.
Printing Recommendations
- Material: PETG or ASA recommended for heat resistance, as the enclosure will be located near your spa pool equipment. PLA may warp over time in warm environments.
- Layer height: 0.2mm works well for a balance of speed and quality.
- Infill: 15–20% is sufficient for structural integrity.
- Supports: Not typically required, but check your slicer preview.
Assembly
Two types of screw are used, one for the lid and one for the PCB:
- Lid: M2 countersunk screws, 10mm length. These thread tightly into the lid holes (which measure approximately 1.9mm) and hold the lid securely closed.
- PCB mounting: M2 pan head screws, 5mm length. These secure the PCB to the standoff inside the case.
PCB screw: use pan head, not countersunk
For the PCB, use a pan head screw and do not exceed 5mm length. A pan head bottoms out flat on top of the PCB, so it can't pull in any deeper. A countersunk head keeps wedging in as you tighten, and a longer screw can drive straight through the thin floor and out the bottom of the case.
Wall Mounting
The case has two external mounting bosses (one at each end) with ⌀3.7mm clearance holes for fixing the enclosure to a wall or backboard.
- Wall screws: #6 (⌀3.5mm) × 16mm pan-head wood screws. The ⌀3.7mm holes are clearance holes, so the screw passes through the boss and threads directly into the wall or timber behind it. A pan head sits flush against the top of the boss and clamps the case down securely.